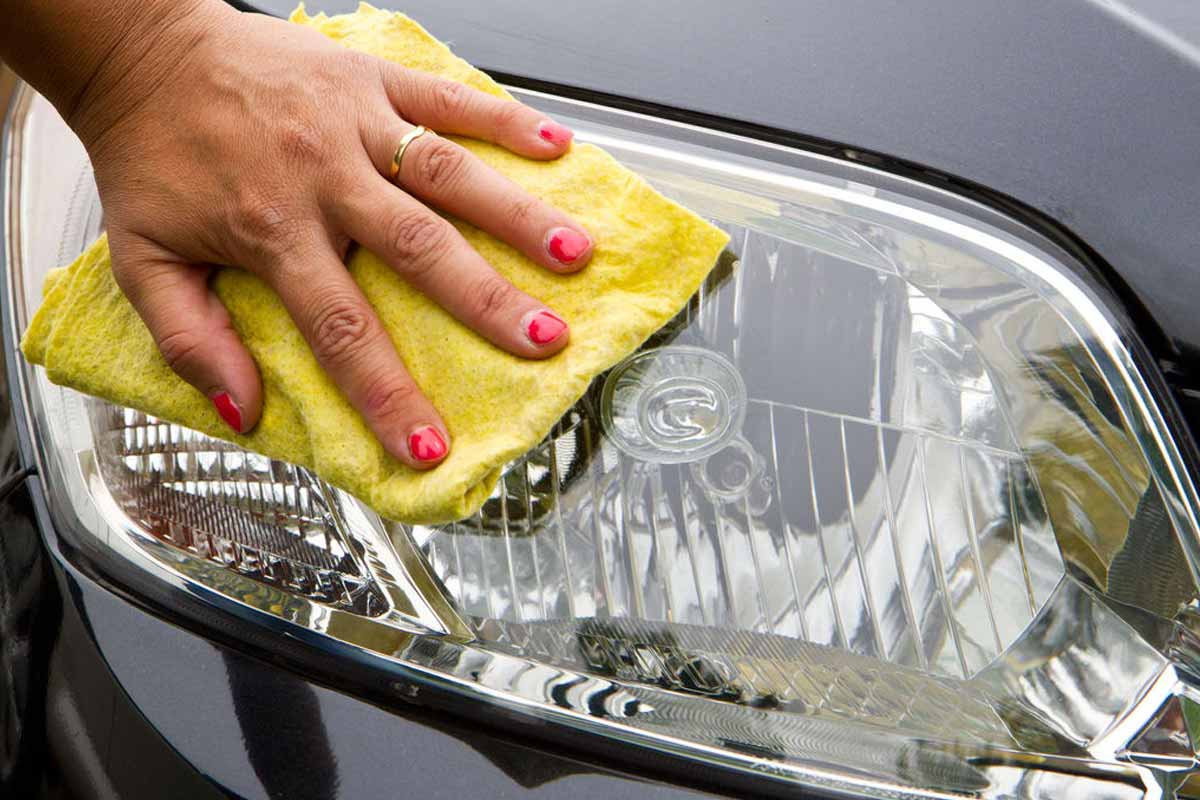
A quick, clever fix can make night driving feel safer again, even when lenses look years old. A handyman’s viral trick uses a product you already own, costs almost nothing, and takes only minutes. It targets oxidation that dulls headlights, while it avoids complex gear, special tools, or risky chemicals. Results appear fast, yet expectations should stay realistic. The method impressed a pro detailer enough to rate it, though he urged caution about durability. Here’s how the simple approach works and when to use it.
Why foggy headlights happen and what you can do
Road grit, tiny stones, and bugs strike the lens, then micro-scratches scatter light. UV rays also react with the polycarbonate surface, which creates a yellowed, cloudy film. You notice wider glare, weaker throw, and dimmer beams. Clarity drops, and eyes strain during rain or dusk.
Drivers often turn to kits, pricey shop visits, or harsh solvents. The viral tip offers a cheap alternative that you can try at home first. It focuses on oxidation at the surface, not the sealed interior. Because the lens face is the issue, targeted polishing makes visual sense for many cars.
Professional detailer lexluxedetails (@lexluxedetails) tried the trick on a fogged lamp. He expected a small improvement, yet the lens brightened more than anticipated. He still kept expectations measured, which helps you judge results on your own car. Restoration is cosmetic, and the underlying plastic remains the same age.
Step-by-step method the pro used at home
Clean the lens gently with water and a microfiber cloth. Then add a generous dab of ordinary toothpaste to a fresh cloth. Work in small circles across the entire surface. Cover the lens fully, because consistent pressure and passes help even out the finish on headlights.
Let the toothpaste sit one to two minutes, so the mild abrasives contact the oxidized film. Keep pressure light, and hold the pad flat. Rubbing in circles lifts the yellowed layer, and it collects on the cloth. The motion mirrors tooth polishing, only you are buffing a plastic lens instead.
Wipe the paste off with a second damp microfiber. Dry the lens, then assess clarity and beam shape. The professional gave the hack seven out of ten, which signals a noticeable upgrade for quick work. He still flagged longevity, so you manage expectations while enjoying a clear, brighter look.
Does cleaning headlights with toothpaste really last
Toothpaste contains fine polishing particles. They abrade the dead, oxidized skin, so the lens looks clearer. The surface turns smoother, and light focuses better. This change is visible, although the layer below still faces sun, heat, and rain over time. Think “refresh,” not “factory new.”
A skeptical commenter suggested oxidation could return in about two weeks, depending on weather. Sun intensity, parked hours outdoors, and local grime all matter. Frequent highway miles add chips and dust that haze the surface faster. Because conditions vary, your real-world timeline will vary as well.
The detailer shared the same caution, even after seeing an improvement. His advice aligns with practical experience: quick fixes rarely compete with sealed coatings. You can still enjoy the near-instant clarity, while you plan a longer-term step if needed. Cost stays low, and time remains minimal.
Savings, eco angles, and practical trade-offs
This approach saves money compared with shop restoration. You likely own the supplies already, which trims costs further. A microfiber cloth, water, and toothpaste stand in for kits. You avoid extra purchases, while your plastic lens benefits from gentle polishing that improves the look of headlights.
You also reduce reliance on harsher cleaners that can flow into waterways. Fewer chemical bottles at home means less plastic waste to store or toss. The hack uses a tiny amount of paste, and rags wash clean. Practical gains stack up, even if the cosmetic boost fades sooner than pro methods.
Trade-offs remain. Paste types vary, so aggressive versions may add micro-marring. Gentle pressure helps, and you test a small corner first. Tape off paint edges to avoid scuffing. When lenses crack, fill with moisture, or haze inside the housing, this external polish will not solve the root cause.
Longer-term options and smart expectations
Because oxidation continues, a protective step extends clarity. After polishing, you may apply a UV protectant made for lenses. A thin coating slows yellowing, and routine washing prevents grit from grinding the face again. Small habits, plus shade parking when possible, keep restored headlights clearer longer.
If you want a deeper refresh, a staged polish works. Some kits use fine wet sanding followed by compounds, then a UV sealant. The process takes time and care; it also delivers a cleaner, more uniform finish. Professional detailing adds experience, controlled tools, and a warranty in many shops.
Community feedback helps you decide. One user loved the idea and said they would try it. Another already started. A third warned the haze might return fast. All three views are useful. You enjoy quick wins today, while you plan a next step if local sun and weather accelerate oxidation again.
Clear gains now, smart maintenance next, and realistic results that last
The viral trick is fast, cheap, and easy to attempt, and it can sharpen headlights before tonight’s drive. A pro rated it seven out of ten, which supports trying it on a cloudy lens. Use light pressure, wipe clean, then reassess in good light. Add protection soon, and schedule deeper restoration when conditions demand it.
