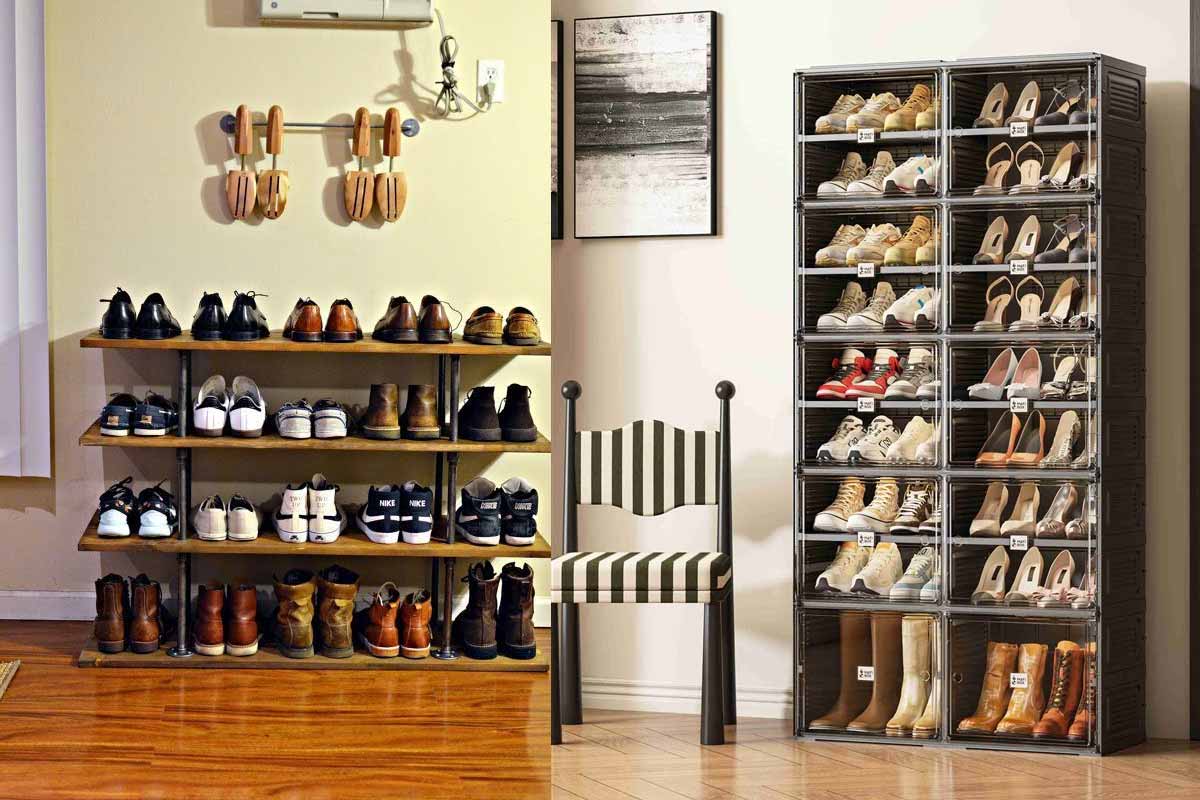
Shoes pile up fast, and your hallway shouldn’t pay the price. A simple, low-cost fix restores order while keeping style in play. Instead of buying a pricey rack, build a strong two-tier organizer with cooling racks and zip ties. It looks clean, fits tight spaces, and scales easily. Inspired by LifeDIYJoise, the build stays simple, safe, and fast. Materials are easy to find at Dollar Tree, so the budget stays friendly. The result handles daily traffic and keeps floors clear.
Why a compact rack beats a messy floor
A loose shoe pile becomes a hazard, so quick structure matters. This compact rack corrals pairs without hogging space, and it slides neatly under closet shelves. Each unit holds about four pairs: two on top, two on the bottom. The format keeps everything visible, so a morning grab stays smooth. One Dollar Tree build often replaces a scattered heap.
Clutter also wastes time, because you lose pairs and scuff uppers. A defined slot prevents mix-ups, while the steel grid leaves shoes ventilated. Air moves freely, so damp soles dry faster. You protect the floor, since grit stays off traffic lanes. The whole space feels calmer, and it stays that way.
Buying a standard rack can cost $20 for basic models, and sturdier styles cost more. This design avoids that spend while keeping strength and utility. You pay only for racks, ties, and glue. The footprint stays slim, yet the steel structure resists daily bumps. The organizer grows with your needs.
Tools and costs when shopping at Dollar Tree
You’ll need eight Cooking Concepts Metal Cooling Racks, sold in two-packs for $1.25 to $1.75. Add zip ties, a hot glue gun or a tube of E6000, and wire cutters or sharp scissors. Keep the rack tags on at first, because they help you align parts. The list fits a small basket at Dollar Tree.
This kit builds four grid panels that become two shelves and two sides. Plan your pairs, since a single unit takes about four. If your family stores more, line up two units side by side. The modular shape lets you expand later, so the system grows naturally. You avoid waste and keep costs predictable.
Metal racks bring real advantages for entryways. The bars resist warping, and they wipe clean fast. Wet shoes don’t sink into fabric, because the grid supports weight evenly. The open weave looks light, yet it stays tough. Replacement parts are easy to source, so maintenance stays simple and cheap.
Step one: build sturdy shelves and lock the overlap
Start with one two-pack and gently stretch the racks apart. They’ll overlap, and small rectangular sections appear near each side. Keep the factory tags on while you square everything. Secure each overlap with two zip ties at the top and two at the bottom on both sides. Use Dollar Tree ties to keep tension even.
That first panel becomes a shelf. It takes eight zip ties in total, which keeps flex under control. Trim the ends, then remove the label. The finished shelf measures just over 17 inches wide, so it fits many closets. Repeat the exact process with three more two-packs. You now have four matched panels.
Those four panels become the frame: bottom shelf, top shelf, and two sides. Consistent overlap makes assembly easier later, because edges line up well. Cut cleanly so nothing snags socks. Small details matter here, since tidy cuts protect hands and fabric. Set the four panels aside, ready for assembly.
Fast assembly and a stable backing using Dollar Tree racks
Place the bottom shelf with its feet pointing outward. Stand two panels vertically as sides with their feet pointing inward, then zip-tie where feet meet. Add the top shelf with feet inward, and tie corners snugly. You now see two tiers. Add one Dollar Tree tie wherever a joint still flexes.
The frame may wobble slightly, so create a backing for strength. Separate another pair of racks and place them side by side behind the frame. Point the feet inward and zip-tie along several bars. This cross-brace cuts sway, so the unit holds form under real use. Trim every tie tail cleanly.
Finish by dotting key joints with hot glue or E6000. Glue adds shear strength, while ties keep compression in check. Check each intersection and add a tie if needed. Small additions prevent long-term creaks. Load shoes after the glue sets, and you’ll feel the difference immediately. The structure stays quiet and firm.
Smart upgrades, safe use, and flexible placement
Style tweaks lift the look without adding cost. Spray the racks black, light gold, or a tone that fits your home. Use metal-safe paint and a clear protective coat for durability. The refined finish feels intentional, and it hides scuffs. One Dollar Tree build can look boutique with a few careful passes.
Need more capacity by the door? Build a second unit and place them side by side. Tie them together at the top, middle, and bottom for a bench-like span. Add a box cushion for looks only, since the grid isn’t rated for sitting. Reserve the lower shelf for up to four pairs.
Placement stays flexible. Slide one under a closet shelf, tuck one by the garage door, or assign one to kids’ rooms. Label pairs by row, so mornings run faster. The grid keeps soles off floors, which helps with cleaning. Because access stays open, everyone puts shoes back without reminders.
A calm entryway starts with one compact, budget-friendly change
A slim rack restores order, so a small space suddenly works harder. Shoes live in sight, not in a dangerous pile. Metal bars keep airflow moving, which helps dry soles after rain. The look stays light, yet the structure holds up. One neat fix changes daily steps at Dollar Tree scale.
