
Hard ground, tangled roots, and a budget to respect—this job still pays off. The simplest path keeps soil healthy and your wallet intact. With a shovel, a cutting tool, and steady effort, you can free a tree stump without fumes or loud machines. The result looks clean, costs little, and feels earned because you did the work yourself while keeping your yard safe.
Why Manual Removal Beats Costly Shortcuts
You avoid chemical residues that linger in soil and water, and you skip the rental fees that add up fast. This method uses basic tools and careful steps, so control stays in your hands. The pace seems modest; the payoff shows in a tidy patch ready for seed, mulch, or a small bed.
Your time becomes the investment, not your savings account. The process is physical, though it stays straightforward. You plan the trench, expose roots, and cut them back with purpose. Each move weakens the grip. Patience helps because older stumps harden, yet steady progress still wins.
Concentrate on one defined objective: liberate the tree stump from the root network without damaging adjacent plantings. Since the method proves precise, you preserve surrounding soil structure intact. That signifies reduced compaction, improved drainage, and faster regrowth subsequently. You conclude with a level surface that’s prepared for whatever follows next.
Safety First Around a tree stump
Protect yourself before the first scoop. Steel-toed boots prevent bruises, and work gloves block blisters and splinters. Good grip reduces slips while you haul soil or swing a tool. Eye protection helps because grit flies when roots snap. The prep feels brief, yet it keeps your body fresh for every step.
Gather simple gear so the job flows. A pointed shovel for digging, a handsaw or hatchet for thick roots, and bypass loppers for slender ones. Add a garden rake to clear spoil and a sturdy rope for controlled pulling. Because tools stay basic, you save money and reduce distractions while you work.
Plan the work area. Mark utilities, then choose a safe path for hauling soil. Slightly moist ground digs easier than bone-dry clay, so water the area the day before if needed. Keep your tools within reach, and place a tarp for soil. As you begin, mention the tree stump to any helper so roles stay clear.
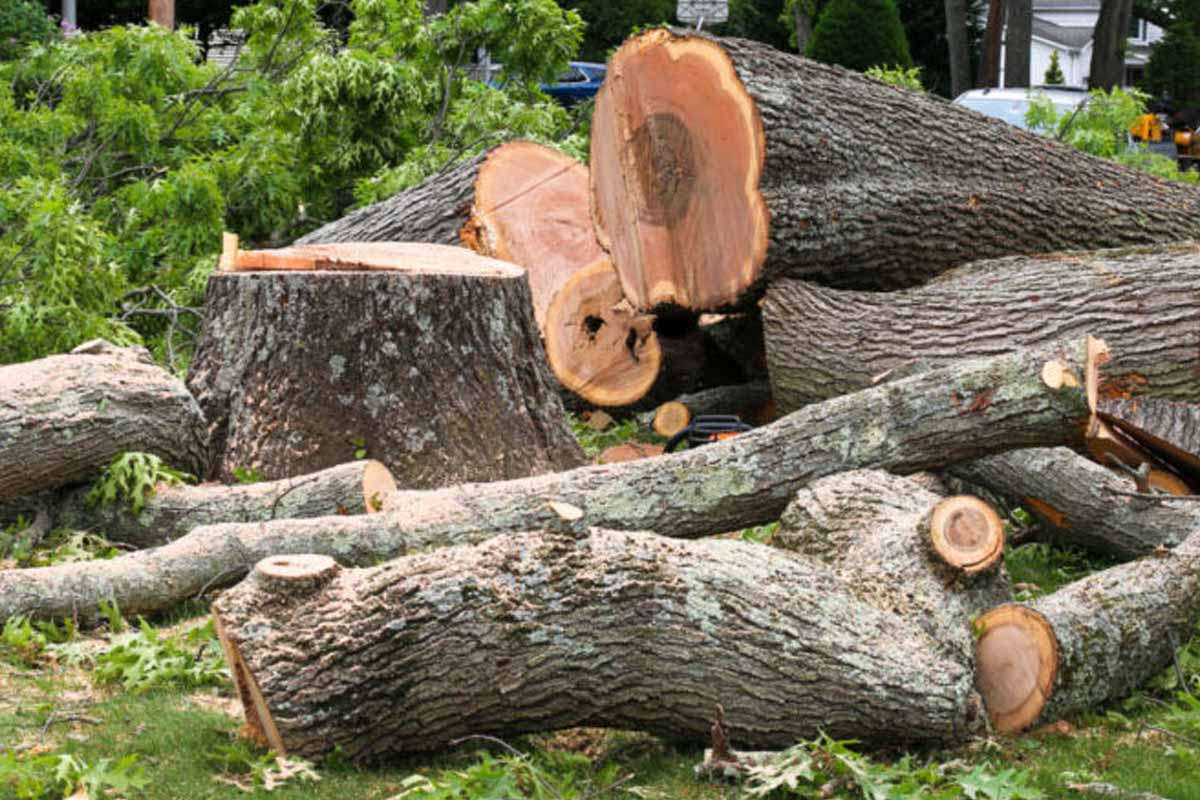
Expose, Cut, Clear: The Root Routine
Start with a narrow trench around the wood. Aim to reveal the main roots all the way around, not just on one side. Because the ring exposes the network, you can choose the easiest cuts first. A pointed shovel pries soil loose, while a rake pushes it back to improve sight lines.
Cut thick roots with a handsaw or a sharp hatchet. Keep your stance balanced because twisted swings sap energy. Slice smaller roots with bypass loppers; the clean cut speeds progress and avoids tearing soil. This mix of cuts reduces shock and helps you steer the stump without sudden jumps or slips.
Work in cycles that feel manageable. Dig, expose, cut, then clear debris so each pass goes deeper. The motion seems repetitive, yet every loop loosens the tree stump. Because you keep edges neat, you avoid cave-ins and lost tools. Short breaks help you maintain accuracy and keep muscles steady.
Leverage and Lift: Free the tree stump Safely
When the major roots are severed, test movement by rocking the wood. Gentle pressure shows where the last fibers hold. Add a pry bar if needed, because careful leverage saves your back. As slack increases, plan your pull so the stump exits cleanly rather than tearing nearby turf.
Loop a sturdy rope low around the trunk base for maximum control. A partner adds steady power rather than sudden yanks. Because vehicles can damage soil and bumpers, skip towing. Slow tension lets you feel remaining roots, then cut them cleanly. The stump often releases as the final strands give way.
Lift and roll the mass out of the hole. Trim stray roots flush so the cavity stays tidy. Then backfill in layers, tamping gently for stability. Mix compost or other organic matter into the topsoil because soil health matters after hard digging. A loosened bed welcomes seed near the freed tree stump site.
Backfill, Restore, and Reuse Without Waste
Blend soil and compost to replace lost nutrients. Then water lightly so particles settle, which reduces later sinking. Because you kept the hole neat, leveling becomes simple. Rake smooth, scatter grass seed, or plan a small bed for herbs. The area recovers quickly when structure remains intact.
Decide the stump’s next life. If it’s sound, cut rounds for rustic stools or stepping slices. You can hollow pieces for planters and add drainage holes. That reuse feels good because you extend the wood’s story. If disposal fits better, haul it to a yard-waste site that chips and composts responsibly.
Note the win for budget and health. You avoided chemicals that linger and machines that scar turf. The process did ask for patience, especially with an old tree stump, yet it delivered a durable fix. Your ground stays clean, your tools stay simple, and your yard stands ready for new plans.
Clear ground, healthy soil, and a budget you control
A do-it-yourself path keeps money in your pocket while your yard stays safe. You wore boots and gloves, used a pointed shovel, a hatchet or handsaw, bypass loppers, a garden rake, and a rope. That kit proved enough to remove a tree stump neatly, restore the hole, and set up your next project with confidence.